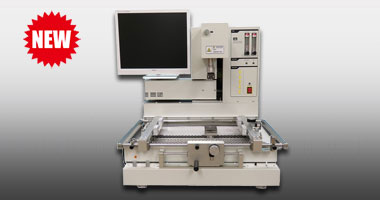
RD-500ds (Entry Level) BGA/SMT Rework Machines for Stable and Safe Rework : Product's Details
Features
High Performance 3 Point Heating System for Lead Free Rework
The RD-500ds features 700 watt upper and lower hot air heaters. By delivering hot air simultaneously from above and below, these units are able to evenly heat the component and solder connections. This results in much safer removal and placement heating profiles. In addition, the RD-500ds comes standard with an IR area heater. The RD-500ds area heater uses a series of 3 rod type heating elements. Each provides 400 watts of heating power for a combined 1200 watts. This is enough to heat the largest of PCBs evenly in order to prevent the PCB from warping while removing or replacing the component.
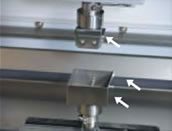
Upper Hot Air Heater ( 700W )
Lower Hot Air Heater ( 700W ) and Area
Heater ( 1200W ) of RD-500ds
Software
Software and Set-up Tabs

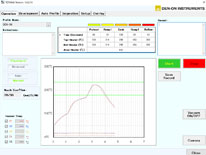
・Operation
The Operation Tab is where the standard operator will access the profiles that have been developed by the engineer or technician.
・Development
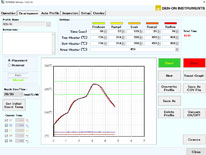
The Development Tab is where profiles are developed or modified.
・Auto-Profile ( 2 Point )
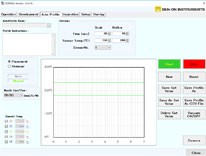
The Auto-Profile Tab is a function that allows the technician or engineer to take a thermocoupled PCB, enter the desired soak and reflow times and temperatures, and then with the push of a button, easily develop a profile for the PCB and component. The 2 point function is also used to adjust the upper and lower hot air heaters to provide the best reflow conditions without overheating the target component.
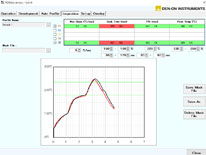
・Inspection
The Inspection Tab allows the user to set up the conditions for their ideal or target profile. Then once the profile is developed, they can pull it up in this screen and compare it against these ideal conditions. It provides a quick check to see if any condition is not met anytime during the profile.
・Setup
The Setup Tab is where the basic functions of the machine are set. These include Security
Password set up, Upper and Lower Indicator Lines, Standby Temperature for the Area Heater, and the Gross Placement Force.
・Overlay
The Overlay Tab allows the user to compare and overlay two profiles on the graph, write comments and then print them.
2 Point Auto-profile Function
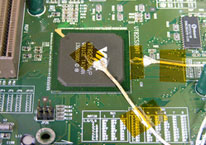
The 2 Point Auto-Profile function allows the user to create a profile by monitoring the solder ball temperature for the solder melt conditions and by monitoring the top of the component in order to ensure the component does not overheat during the profile. The solder ball thermocouple is plugged into either Sensor Input 1,2 or 3. The thermocouple on the top of the component is plugged into Sensor 5.
STEP 1
Place the PCB in the board holder. Take the thermocouple that is attached to one of the solder balls and plug it into to either Sensor 1,2 or 3. Take the thermocouple that is attached to the top of the component and plug it into Sensor 5.
STEP 2
In the Auto-Profile Tab, Set the desired Soak and Reflow Times and Temperatures. Also enter the nozzle size. This will also effect how the heat is applied to the component.
During this test run, the Auto-Profile will take data about the board. On the graph there will be a slight overshoot and the Soak and Reflow times will be somewhat shortened.
This is to save the user time. The data is then given a name and saved.
STEP 3
The data that was saved is called up again in the Development Tab. The profile is run once more to confirm that the profile meets the desired conditions. Any of the times and temperatures can be changed in order to modity the outcome of the profile. But in most cases this is not necessary.
Convenient Inspection Function
Saved data can be easily pulled up from the Inspection Screen. In the Inspection Screen the user can create a standard by which to measure the saved data. The user will enter the desired Max Ramp Rate, the Soak Time and Temperature, the Reflow Peak Time and Temperature, and the absolute Peak Temperature. When the data of a profile is pulled up against this standard, then any variable that is not within the limits of the standard will be marked in Red.
Operation Screen Confirmation Capability
From the Operations Screen, the user is able to pull up the completed profile. The profile will be visible in the Graph Area so there will be no mistaking which profile has been chosen. For further confirmation, any instruction notes that were entered in the Instructions area will also be visible. These help the user to confirm that the data pulled up is the proper data for the component and PCB.
Device
Component Preparation, Alignment and Placement
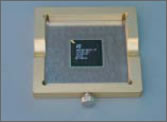
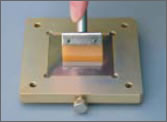
The RD-500ds comes standard with the BP-500 Solder Paste Preparation Kit ( stencils are optional ).
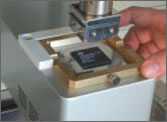
The BP-500 allows the user to apply solder paste directly to the balls of the component. This component is then placed in
the Optics Arm where it is picked from the BP-500 and is ready for alignment to the PCB. The Optics Arm and Alignment
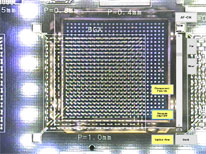
software then allow the user to Zoom, Focus ( if auto-focus is disabled ), and split screen for maximum easy in alignment and
placement. Here are the Basic Steps
STEP 1
Place the component in the appropriate stencil.
STEP 2
Apply solder or flux paste to the component.
STEP 3
Deploy the Optics Arm and Place the BP-500 with the component against the stop of the Optics Arm.
STEP 4
Using the table movement knobs, align the PCB to the component as necessary. If Theta adjustment is required, it can be done via the Theta adjustment knob on the front of the heater head.
Safety Features
The RD-500ds shares the same set of unique safety features that make operating the machine simple and safe.
These include:
・Initialization Check
When the unit is initially powered up, the software will check all the major motion sensor the software will prevent the machine from operating until the problem is fixed and the error is cleared.
・Airflow Sensor
There is an airflow sensor on the main input side of the unit that will prevent the machine from runnning if there is insufficient or no airflow into the machine. Also, if the air flow to the machine is stopped during the cycle it will stop the unit from functioning.
・Heater Overload Sensor
Should either of the upper or lower air flow heaters see a condition where they are getting full power from more than 60 seconds, the unit will stop the cycle.
・Thermo-protector Cutoff Switch
These are two heater cut off switches that are mechanically attached to heating elements. These cutoff switches act as breakers in a condition where the heaters become over heated. If they reach a certain temperature, then they will cut off the power to the heater. The only way that they will work against is if they are manually reset by pusing a button on the cutoff switch.
・Heater Head Slip Clutch
The heater head moves up and down using a motor driven belt. This belt has a slip clutch on it so that if the motion is obstructed in anyway, the slip clutch will activate and prevent injury or damage to the board.
・Low Strength Optics Arm
The optics arm is also deployed using a motor which drives a belt. The power that is used to deploy the arm is at such a low level that even the slightest obstruction will stop the deployment. However, once the obstruction is removed, the arm will continue its movement.
 |
| No. |
Name |
Description |
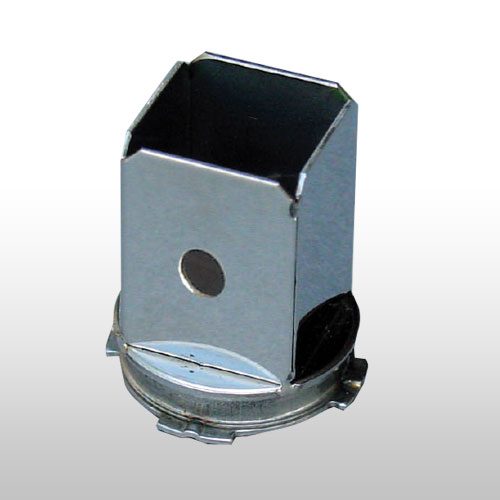
| 51-01-07B |
Standard Top Nozzle |
7×7mm |
| 51-01-09B |
Standard Top Nozzle |
9×9mm |
| 51-01-13B |
Standard Top Nozzle |
13×13mm |
| 51-01-15B |
Standard Top Nozzle |
15×15mm |
|
 |
| No. |
Name |
Description |
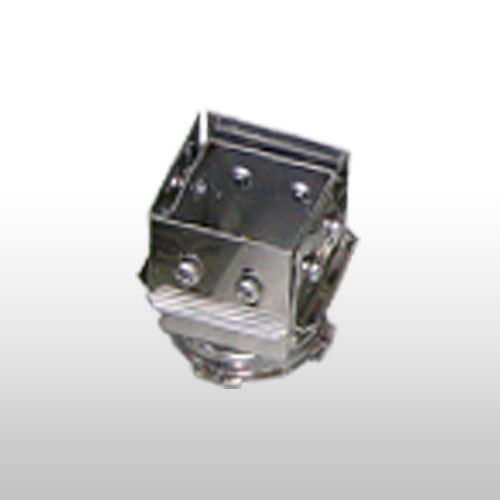
| 51-01-18B |
Standard Top Nozzle |
18×18mm |
| 51-01-20B |
Standard Top Nozzle |
20×20mm |
| 51-01-22B |
Standard Top Nozzle |
22×22mm |
| 51-01-24B |
Standard Top Nozzle |
24×24mm |
| 51-01-26B |
Standard Top Nozzle |
26×26mm |
|
 |
| No. |
Name |
Description |
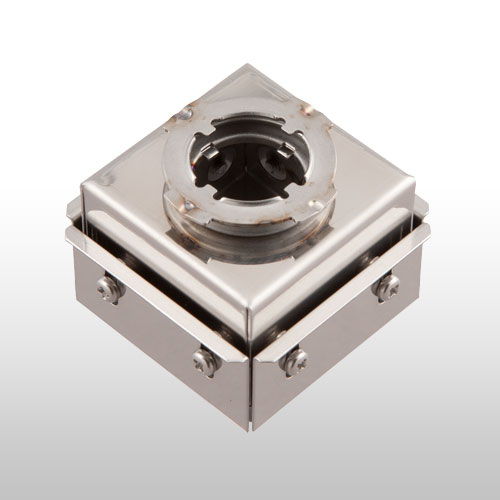
| 51-01-28B |
Standard Top Nozzle |
28×28mm |
| 51-01-30B |
Standard Top Nozzle |
30×30mm |
| 51-01-32B |
Standard Top Nozzle |
32×32mm |
| 51-01-35B |
Standard Top Nozzle |
35×35mm |
| 51-01-37B |
Standard Top Nozzle |
37×37mm |
| 51-01-39B |
Standard Top Nozzle |
39×39mm |
| 51-01-44B |
Standard Top Nozzle |
44×44mm |
| 51-01-49B |
Standard Top Nozzle |
49×49mm |
| 51-01-52B |
Standard Top Nozzle |
52×52mm |
|
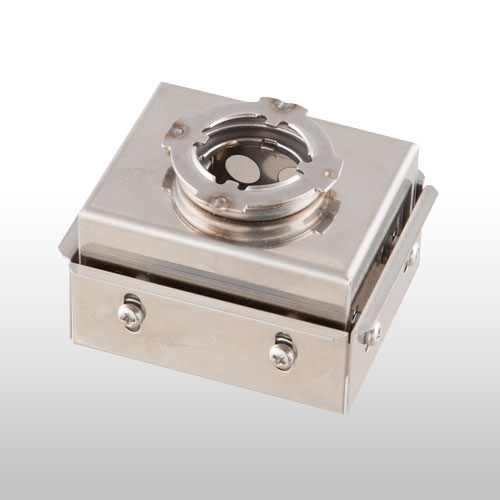 |
| No. |
Name |
Description |
| 51-01-99B |
Custom Top Nozzle |
|
*Design will depend on component structure for further information.
Please contact with us. |
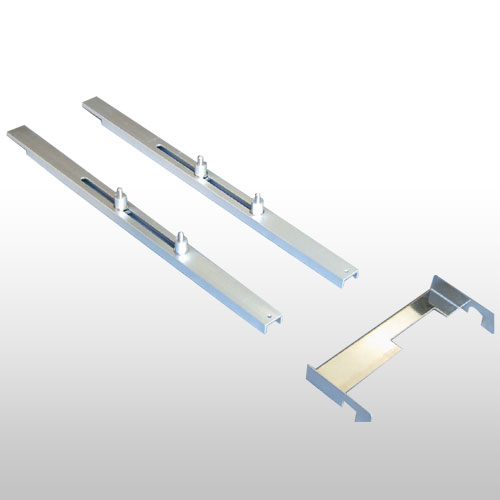 |
| No. |
Name |
Description |
| 61-61-04 |
Board Support Bracket Set |
|
|
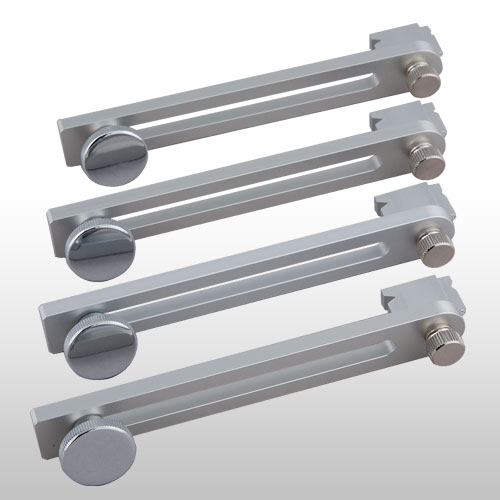 |
| No. |
Name |
Description |
| 61-11-25 |
Odd Size/Shape PCB Holder |
1set |
|
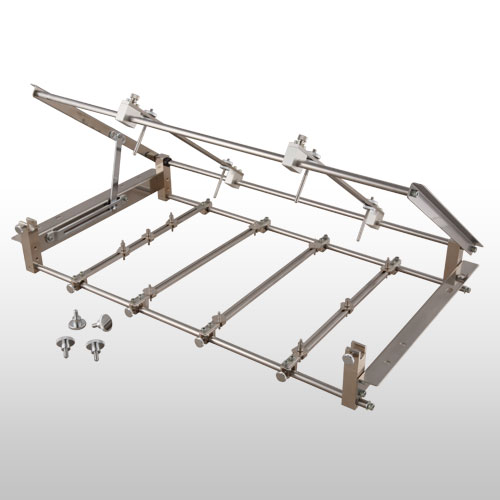 |
| No. |
Name |
Description |
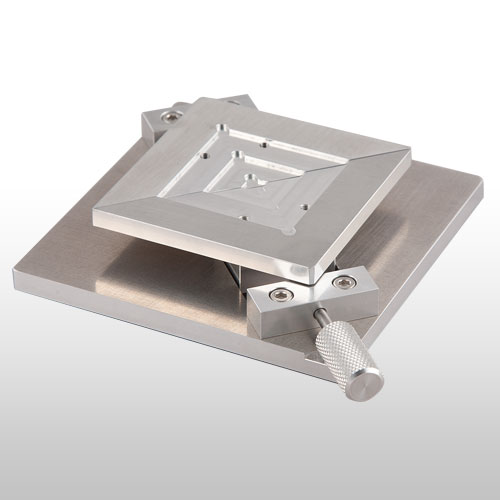
| 61-11-00 |
Universal Anti-Warp PCB Unit |
|
|
 |
| No. |
Name |
Description |
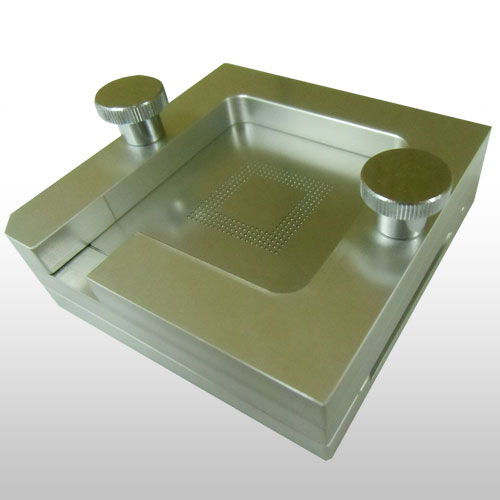
| 61-11-31 |
Universal Jig (Multi-Parts Holder) |
|
|
 |
| No. |
Name |
Description |
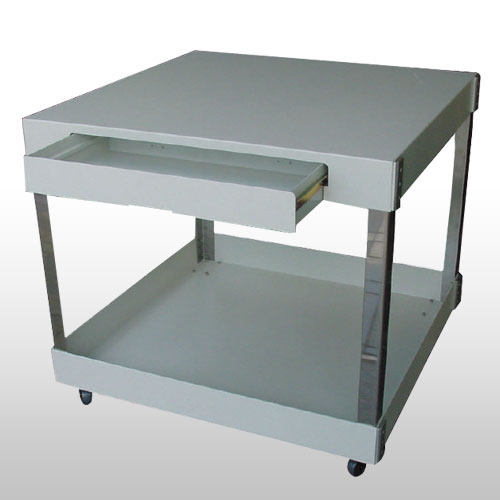
| 61-11-12 |
Table, With Wheels and Drawer |
|
|
 |
| No. |
Name |
Description |
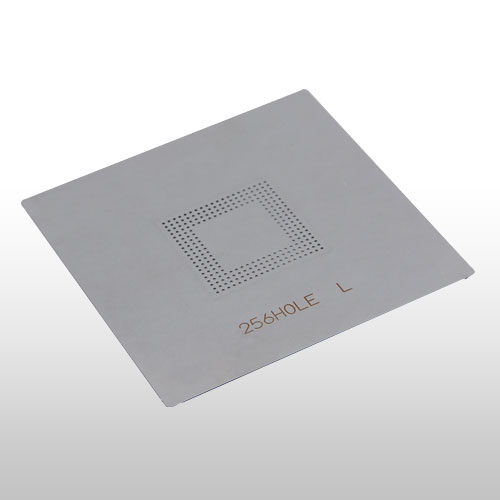
| 61-03-03-01 |
Stencils |
Laser Process Stencil, Any size, For BP-500 |
| 61-03-03-02 |
Stencils |
Electro Polishing Process Stencil, Any size, For BP-500 |
|
 |
| No. |
Name |
Description |
| 61-21-11 |
Reball Kit |
Need to produce by a part |
|
 |
| No. |
Name |
Description |
| 61-01-02 |
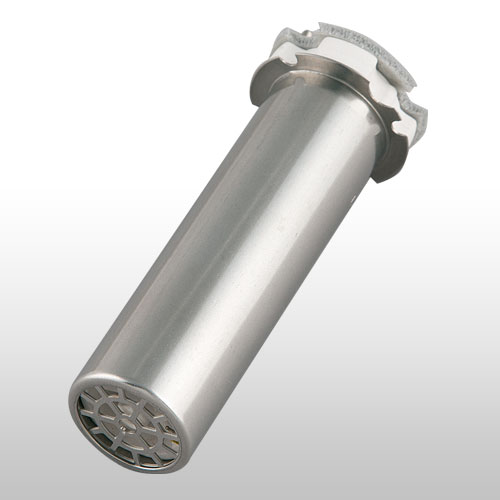
Top Heater/Bottom Heater |
100V |
| 61-01-01 |
Top Heater/Bottom Heater |
200V |
|
 |
| No. |
Name |
Description |
| 21-04-00 |
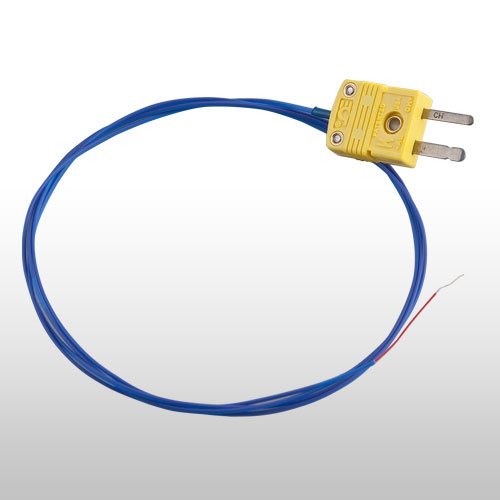
Thermo Couple K-Type with Connector |
φ0.1, 95mm |
|
 |
| No. |
Name |
Description |
| 61-51-03 |
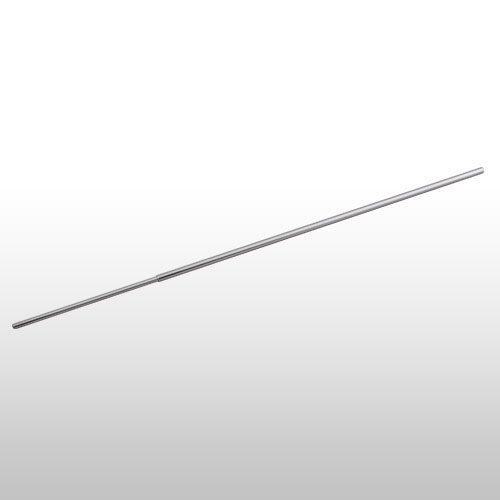
Vacuum Tube, Inner |
100V-200V, 220-240V 184mm |
| 61-51-04-01 |
Vacuum Tube, Outer |
220-240V 135mm |
| 61-51-04-02 |
Vacuum Tube, Outer |
100-120V 120mm |
|
 |
| No. |
Name |
Description |
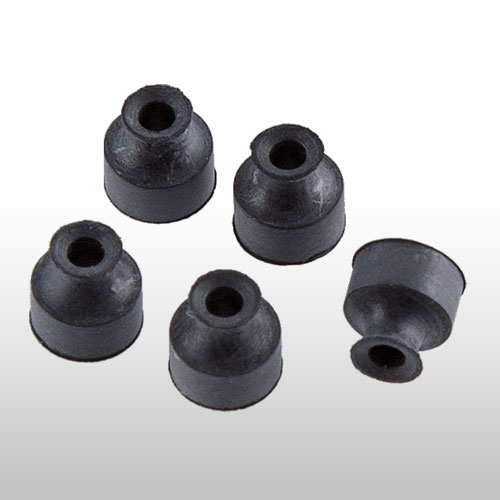
| 61-02-02 |
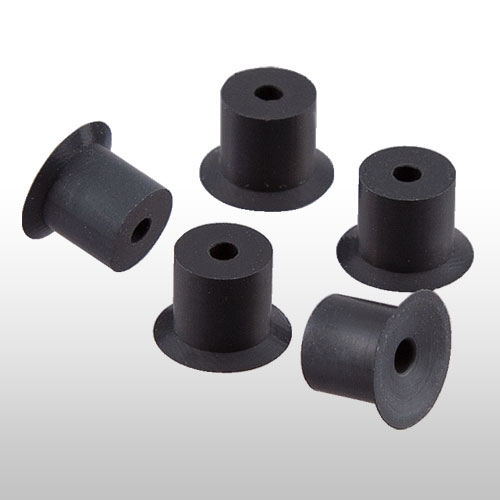
Vacuum Pad, Large |
φ7
3pcs/set |
|
 |
| No. |
Name |
Description |
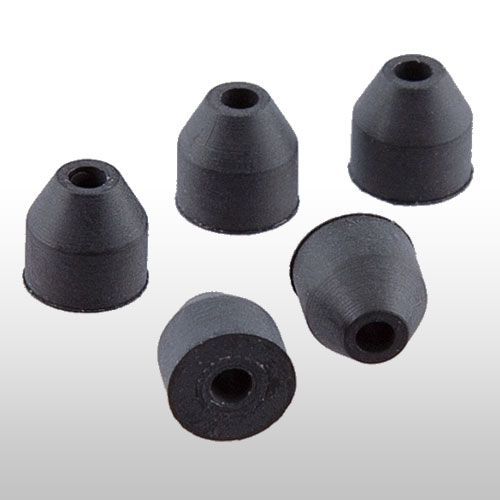
| 61-02-03 |
Vacuum Pad, Medium |
φ3.2
3pcs/set |
|
 |
| No. |
Name |
Description |
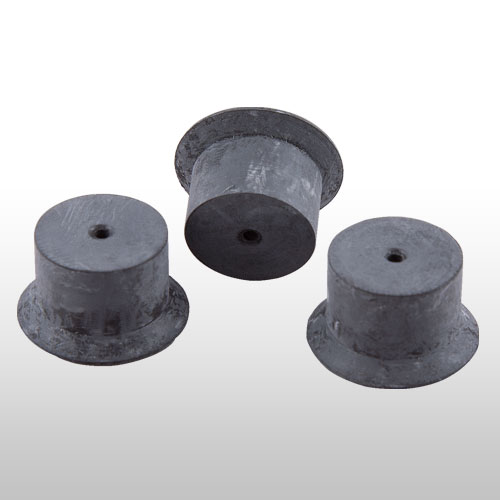
| 61-02-01 |
Vacuum Pad, Small |
φ2.9
3pcs/set |
|
 |
| No. |
Name |
Description |
| 61-02-06 |
Vacuum Pad, Ultra-Large |
φ16
3pcs/set |
|
Overviews/Spec
Overviews
Specifications
| Maximum PCB Size |
400mm x 420mm (16" x 17") |
| Device Size Range | 2mm -50mm |
| Placement Accuracy | +/- 0.025mm |
| Top Hot Air Heater |
700Watt Hot Air |
| Bottom Hot Air Heater |
700Watt Hot Air |
| Area Heater |
400W x 3(IR) 1200Watt Total |
| Temperature Setting
Range Top & Bottom
Hot Air Heater |
0 - 650 °C |
| Temperature Setting Range Area Heater |
0 - 650 °C |
| PC Operating System |
Controller (Optional PC-500 or Recommended) |
| Monitor Size |
Optional 17 Inch LCD Display or Recommended |
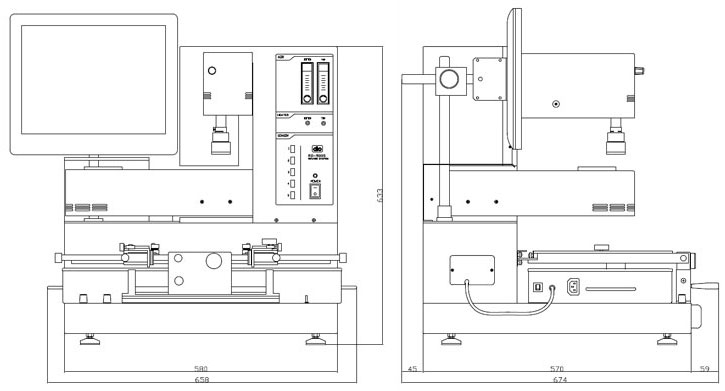
| Overall Size |
580W x 580D x 735H mm |
| Overall Weight | Approximately 50kg |
| Air Requirements | 80L/min (0.2 - 1.0MPa) |
| Electrical Requirements | AC200-230V 2.6kW(1.4kW for Main Body, 1200W for Area Heater) |

